 Control Tower
 Getting started
From an empty machine to your own agent on the map in about five minutes. You need Docker (or Node 24, see Install) and an API key for a model provider — or a local model server such as Ollama.
1. Start Control Tower
docker run -p 4000:4000 -v controltower-data:/data ghcr.io/joshmaster2165/controltowerThe terminal prints where to open the console, a one-time setup code, the two environment variables agents need, and the file to back up:
  Control Tower 0.2.1 is running

     Open        http://localhost:4000/?setup=K7QM-4XTP-9HRD  → create your admin account  (or the host port you published)
     Setup code  K7QM-4XTP-9HRD   (the setup page asks for it: only someone who can read this log sets up this server)
     Models      OPENAI_BASE_URL=http://localhost:4000/v1       (OpenAI SDKs)
                 ANTHROPIC_BASE_URL=http://localhost:4000      (Claude Code, Anthropic SDKs)
     Tools       http://localhost:4000/mcp    ·    REST APIs: http://localhost:4000/http/<name>
     Data        /data
     Back up     /data/master.key — stored credentials are unreadable without it
Everything lives in the controltower-data volume: a SQLite database and master.key, which encrypts the provider credentials you enter. Back that file up.
2. Create the admin account
Open the Open link from the log. On a new install you choose the admin email and password (10+ characters). The setup page also asks for the setup code; the link fills it in. The code proves you can read the server's log, so whoever happens to reach a new install first can't claim it. Started in the background? docker logs <container> shows it again. Only one setup ever succeeds; after that, the page is a sign-in.
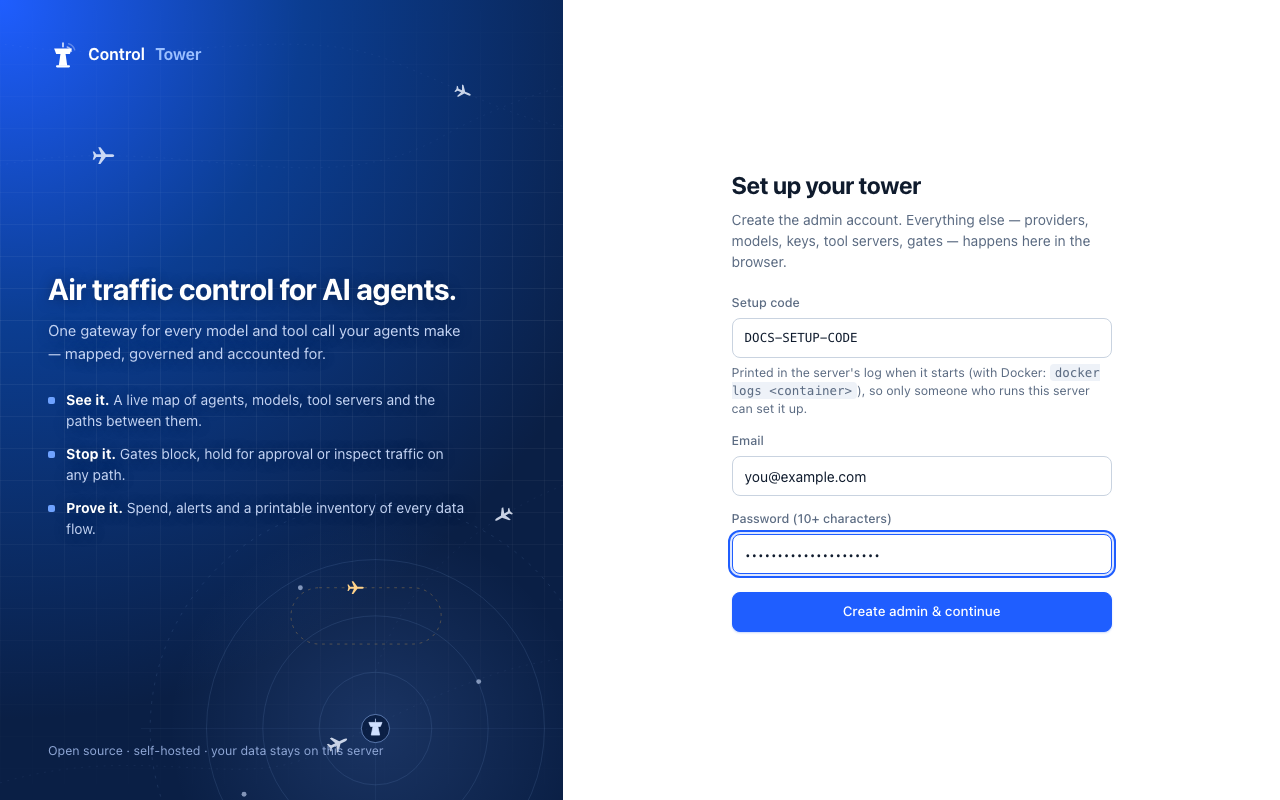
Setting up without a browser (CI, a platform deploy)? Set CT_ADMIN_KEY and the account is created for you, with no setup page and no code: sign in as admin with that key. See Configuration. To script the setup page instead, choose the code yourself with CT_SETUP_TOKEN.
3. Follow Get started
A new install opens on three steps. Each one ticks itself off from real data.
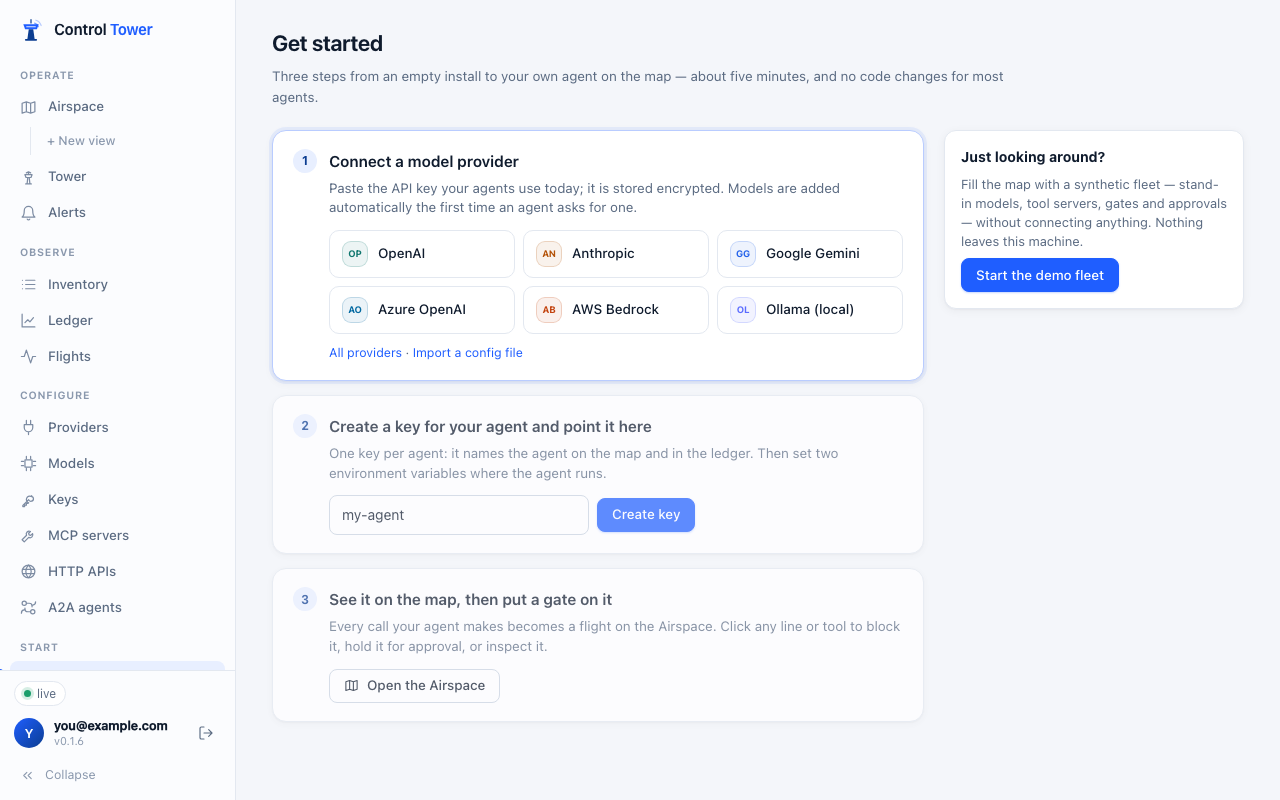
Just looking around? Start the demo fleet fills the map with stand-in models, tool servers, gates and approvals without connecting anything, and Stop demo and clear it removes all of it. See Demo mode.
4. Connect a model provider
Pick a provider and paste the API key your agents use today. It is encrypted with the master key and never leaves the server. Connect & test checks it right away.
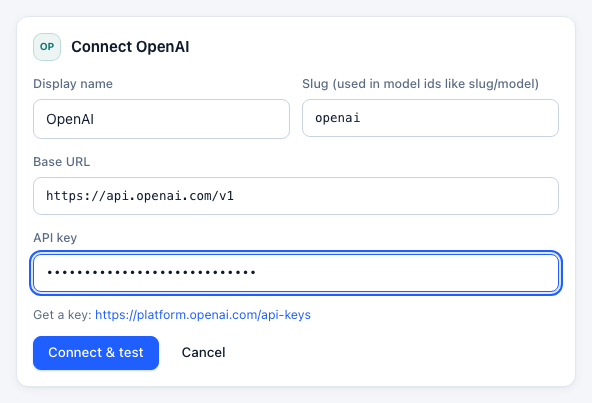
Providers include OpenAI, Azure OpenAI, Anthropic, Google Gemini, Vertex AI, AWS Bedrock, Groq, Together, Fireworks, Mistral, DeepSeek, xAI, OpenRouter, and local servers — Ollama, vLLM, LM Studio or any OpenAI-compatible URL. Here, a local Ollama:
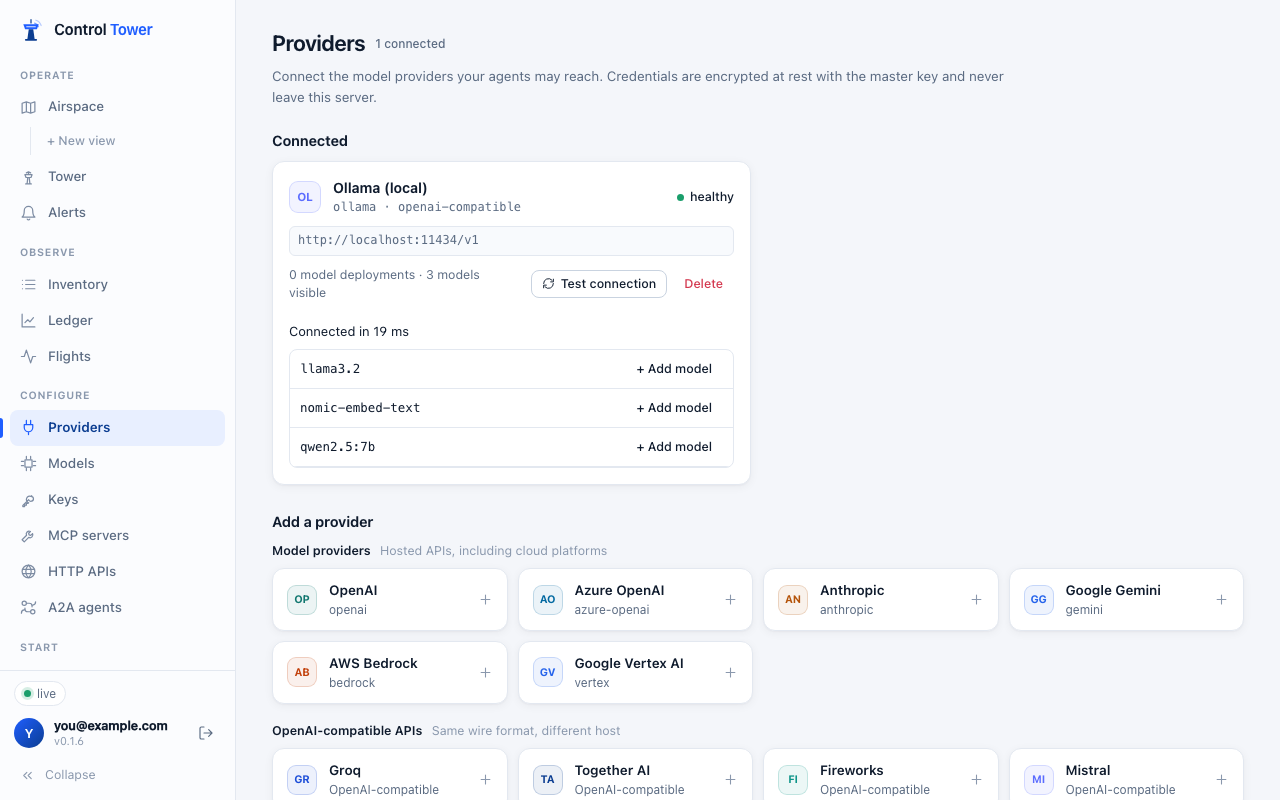
You don't have to add models one by one: the first time an agent asks for a model a connected provider serves, Control Tower adds it and prices it. Use + Add model or the Models page when you want to rename one, group several behind an alias, or override a price. See Providers and models.
5. Create a key for your agent
One key per agent. The key names the agent on the map and in the Ledger, and carries its team, project, allowed models, rate limit and budget.
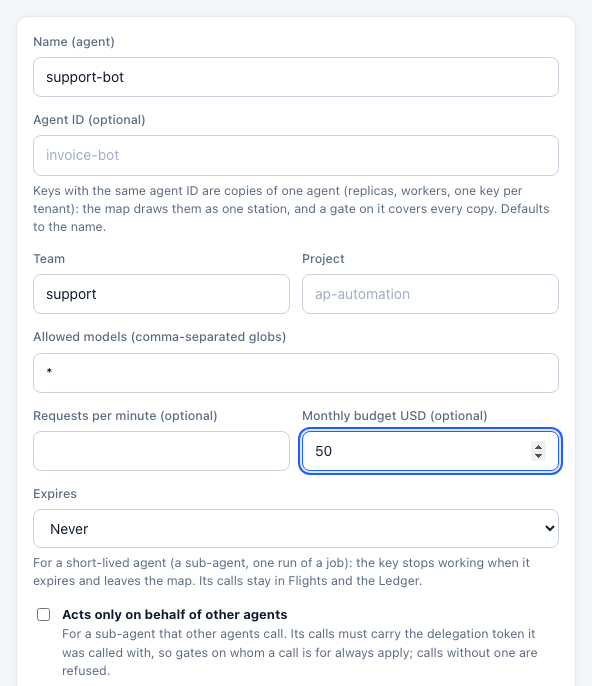
The key is shown once. Below it, the Connect panel has copy-paste setup for OpenAI SDKs, Claude Code and Anthropic SDKs, MCP clients, REST APIs and curl — with the key filled in — and waits for the agent's first request.
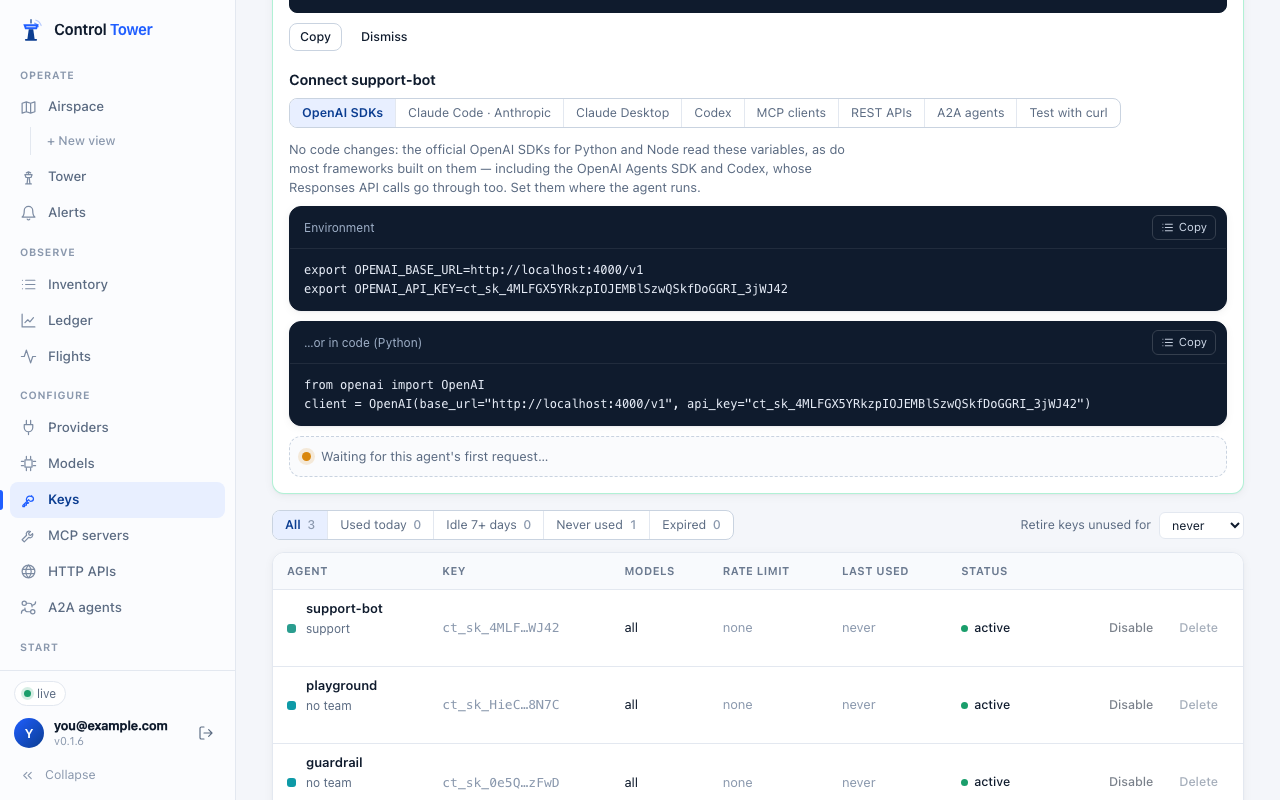
6. Point your agent at Control Tower
For most agents that is two environment variables and no code changes:
export OPENAI_BASE_URL=http://localhost:4000/v1
export OPENAI_API_KEY=ct_sk_…
Keep using the model names you use today. When the first request arrives, the panel turns green:
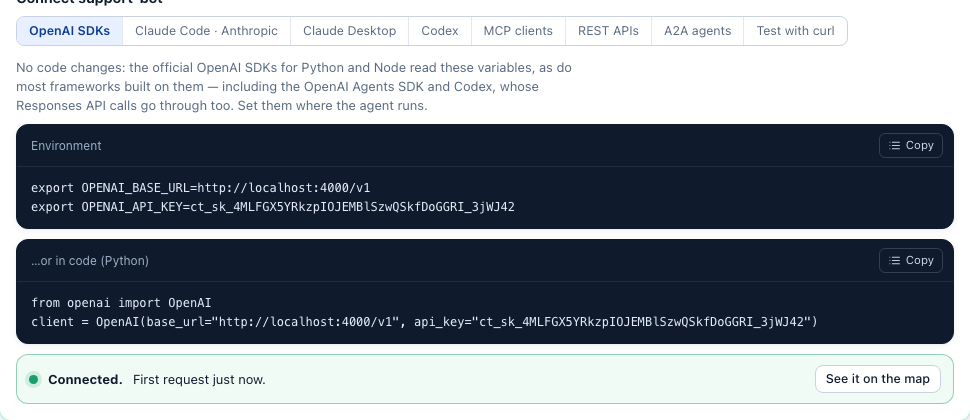
Claude Code, the OpenAI Agents SDK, LangChain, MCP clients and plain HTTP clients are covered in Connect your agents.
7. See it on the map
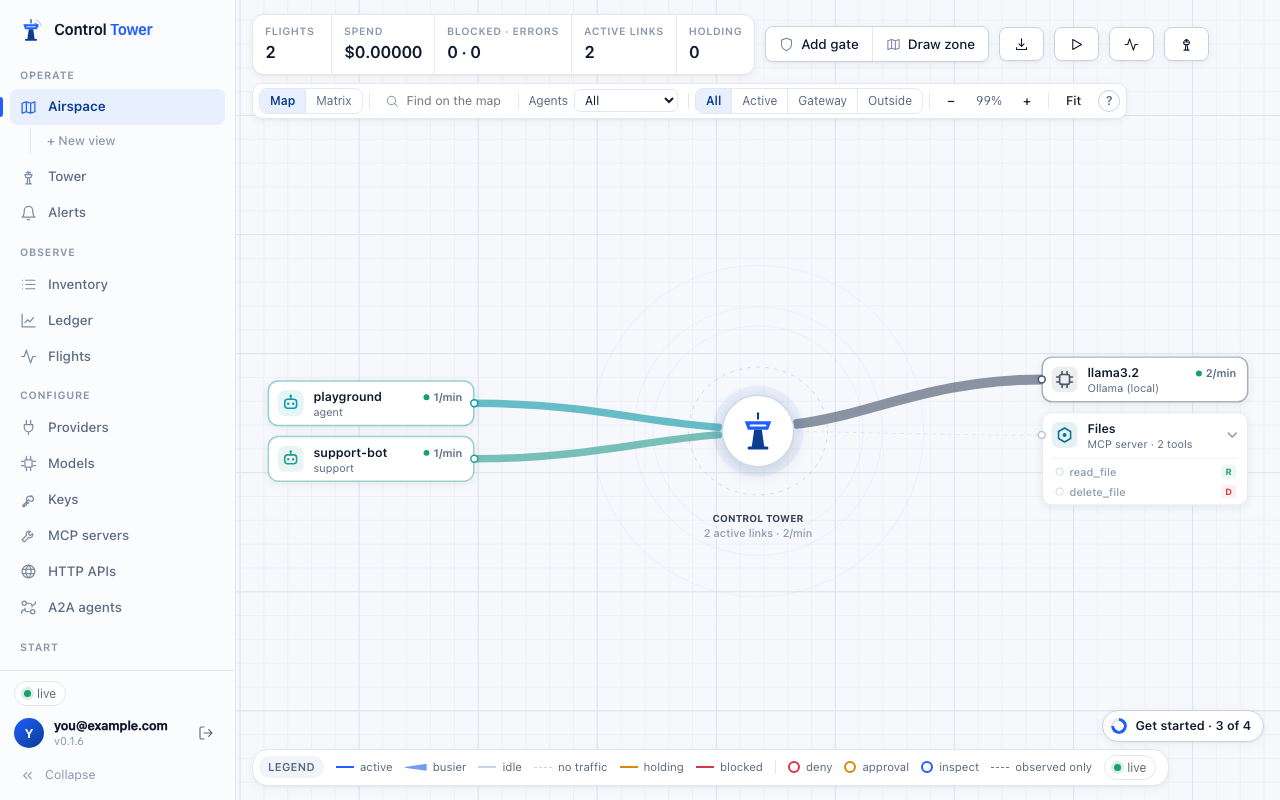
Every call is now a flight on the Airspace: which agent reached which model or tool, how often, and what it cost.
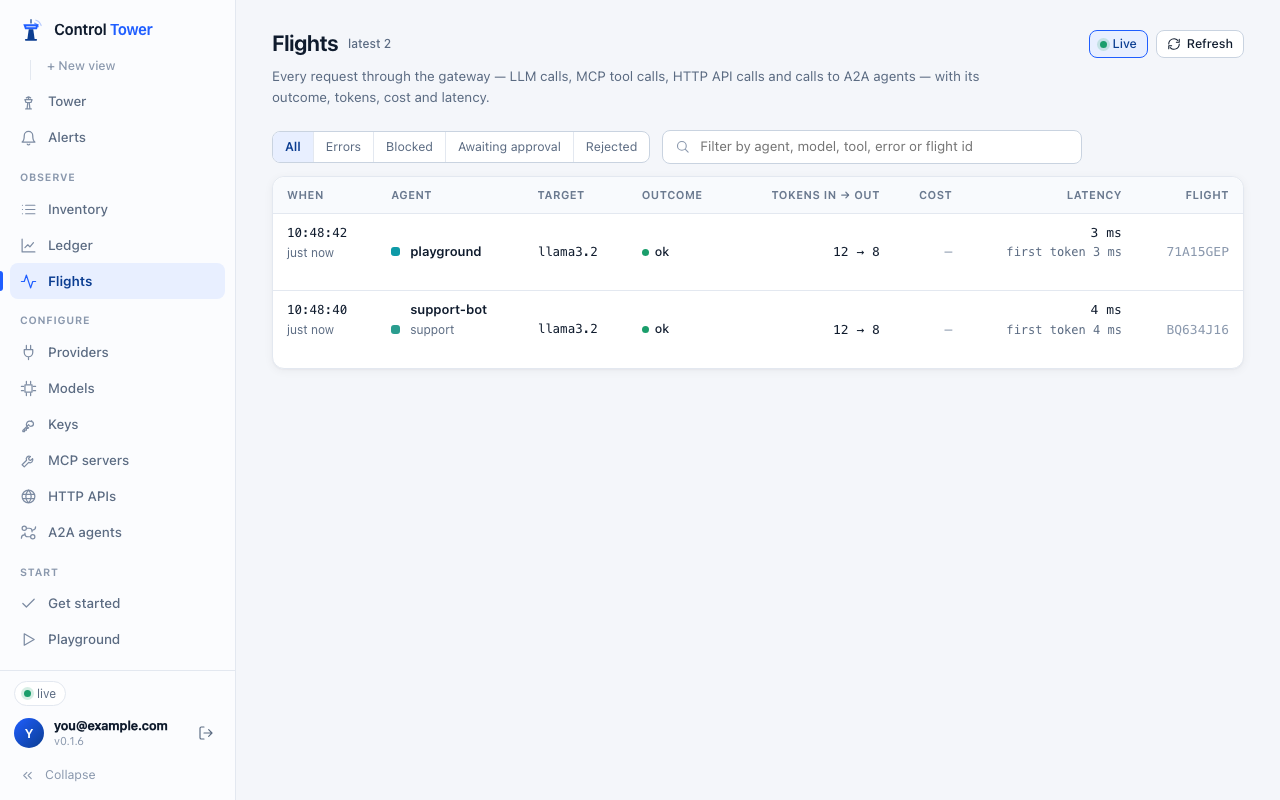
Each call is also in Flights, with its outcome, tokens, cost and latency:
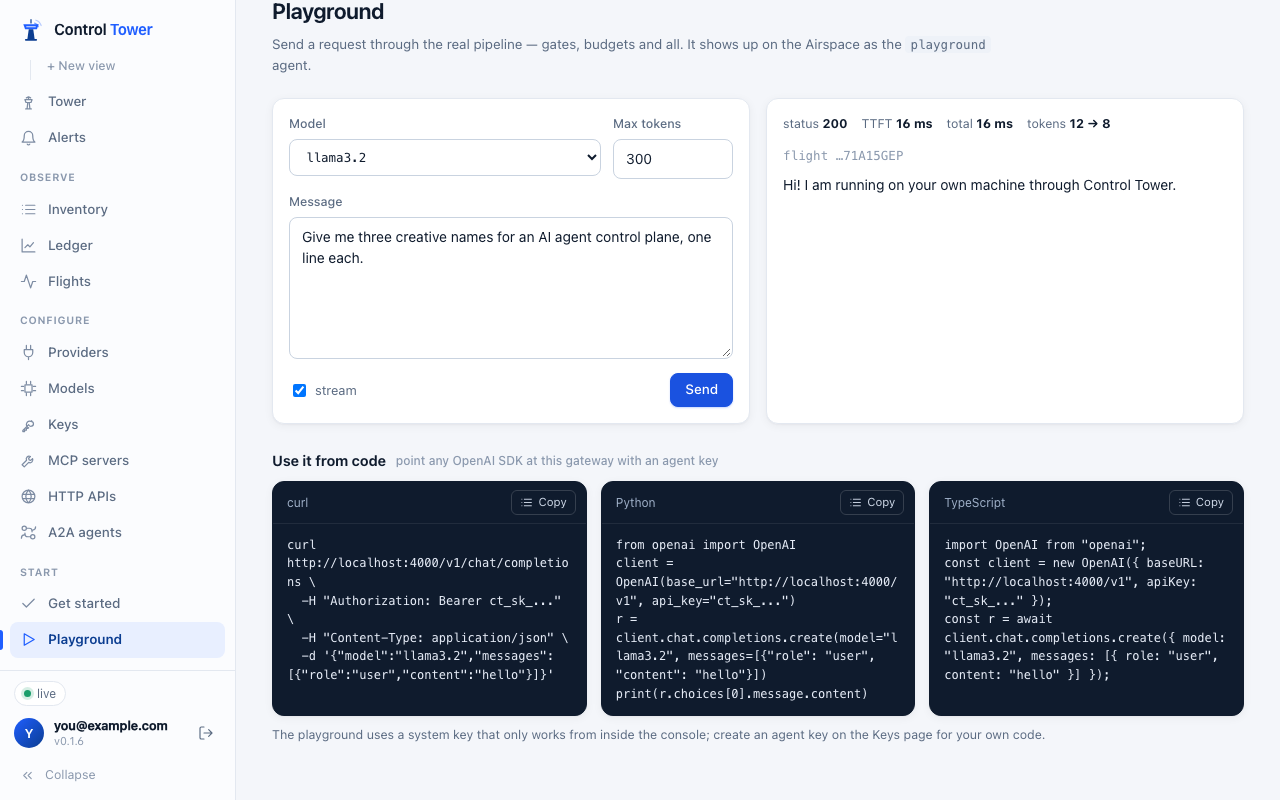
The Playground sends a request through the same pipeline from the browser, and gives you curl, Python and TypeScript for it:
Next
- Put a gate on a path: block it, hold calls for a human, or inspect what passes.
- Register MCP tool servers, so tool calls are mapped and gated too.
- Budgets, rate limits and allowed models per agent.
- Alerts in the console, Slack or a webhook.